

This guide walks you through the whole client form - from creating the project to the moment your client's data lands in your heat loss calculation. Every step is one screen and two or three sentences, no jargon.
1. Create a project
You start the same way as with any other job: create a new project in HeatAlgo. That's where the form and everything your client fills in will live.
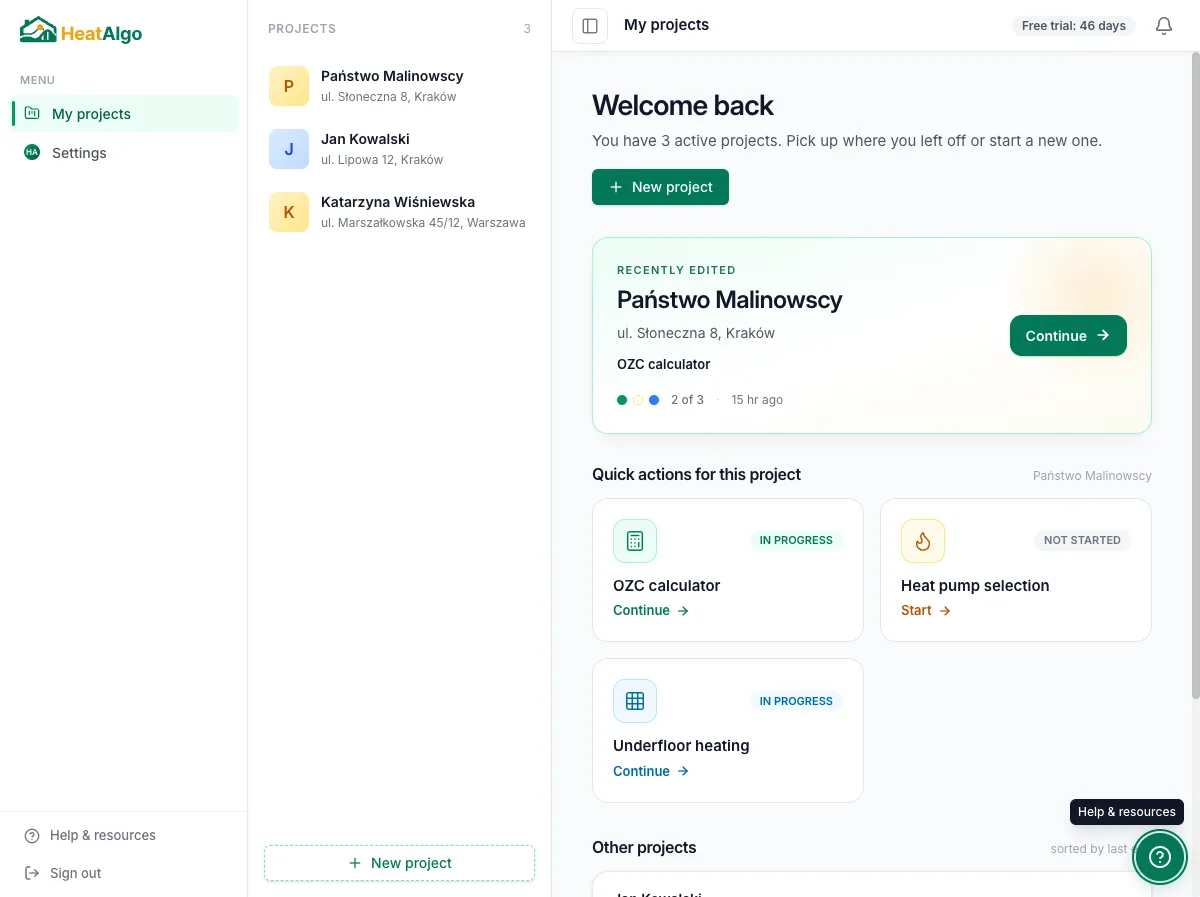
2. Open the form inside the project
In the project view you'll find the "Client form" card. Click "Prepare the form" to move on to setup.
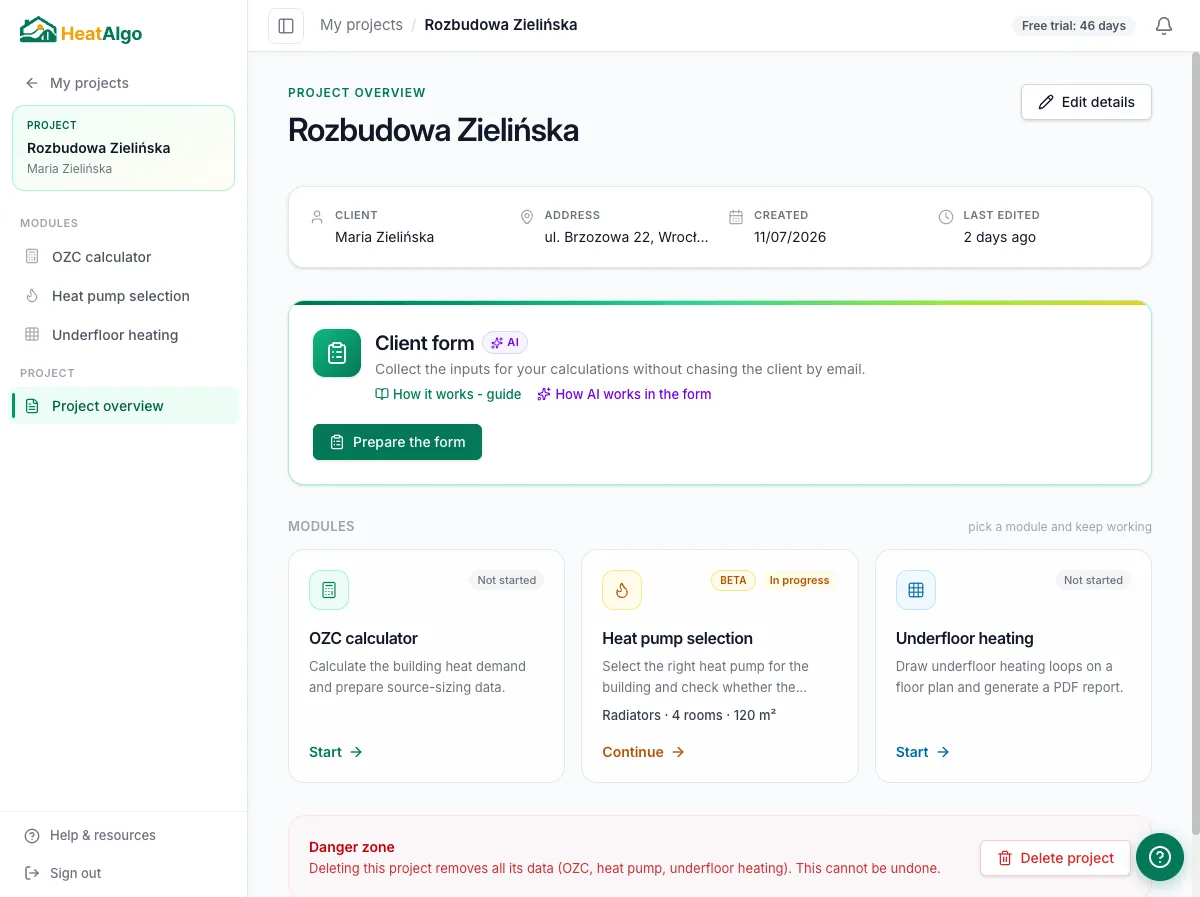
3. Adjust the fields - optional
If you want, uncheck the sections or single fields you don't need for this job, and write your own message to your client. You can also fill in answers you already know - your client then has less to complete. Or skip this step and go on with the default set of fields.
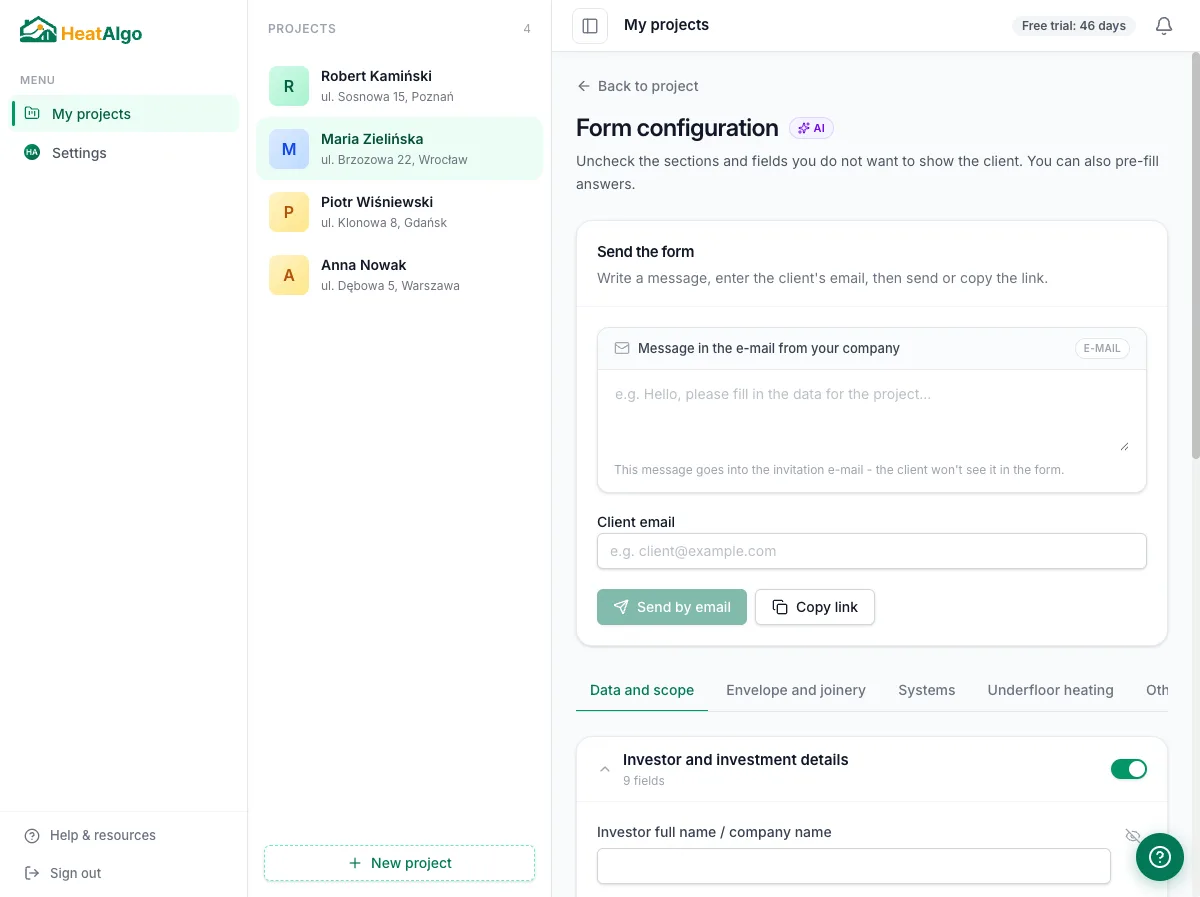
4. Send by email or copy the link
You have two options. Enter your client's email and send the invitation straight from HeatAlgo, or copy the link with one click and share it however suits you - by text message, WhatsApp, or in a message you're already writing to your client.
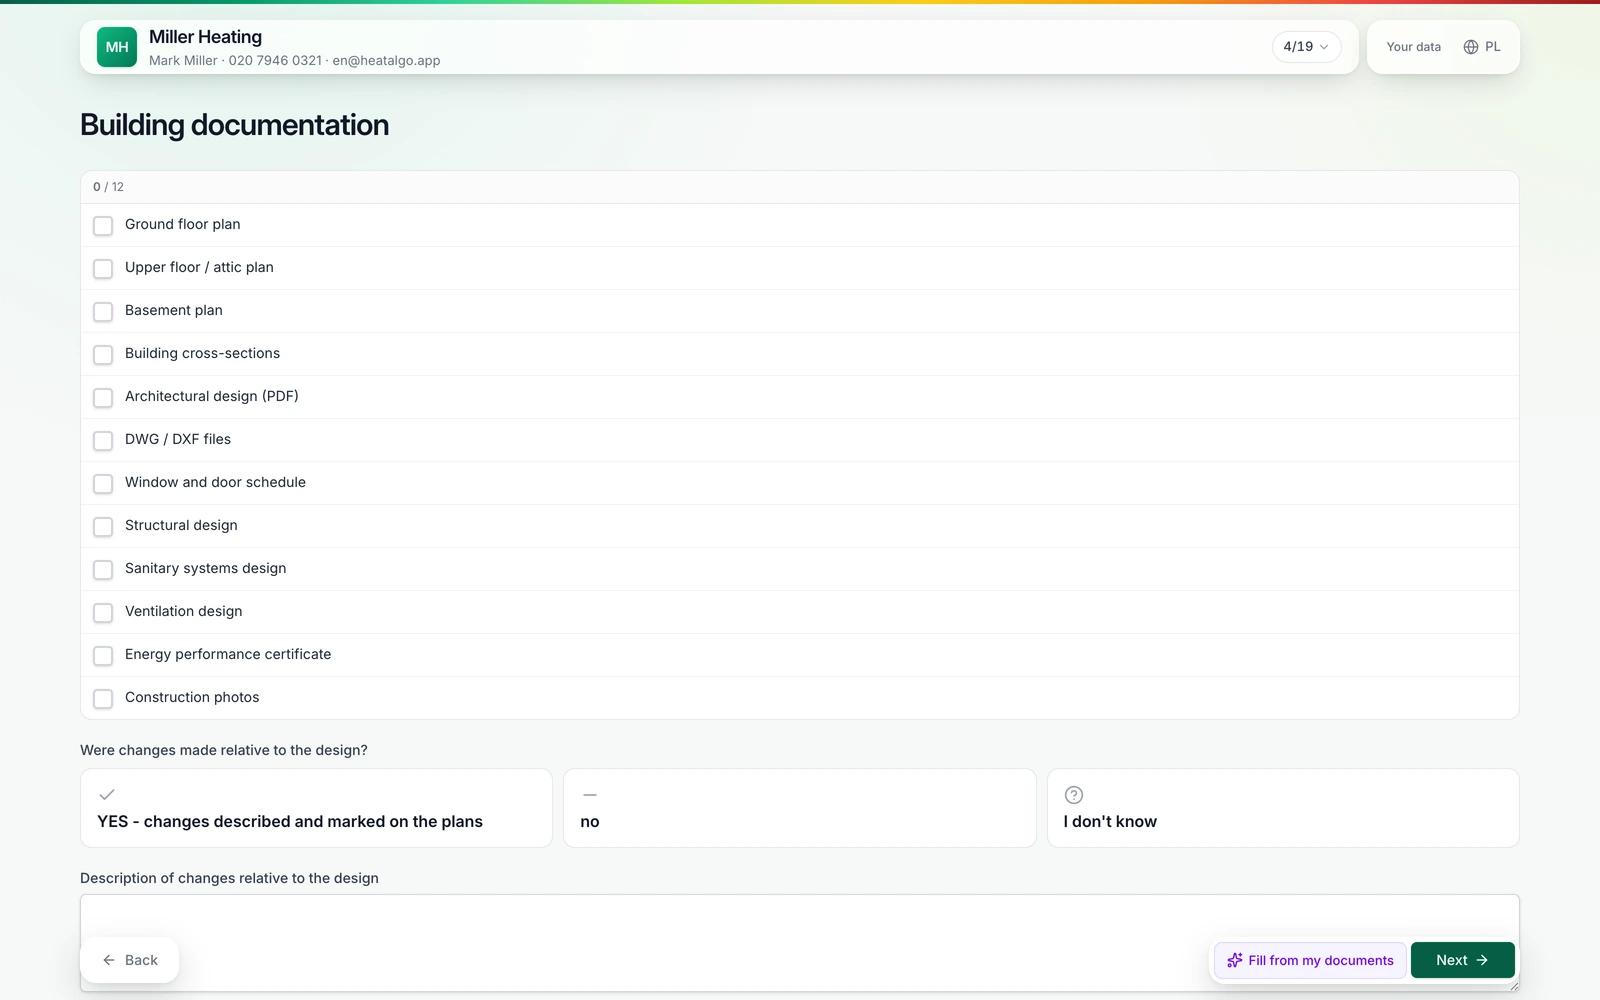
5. What your client sees
Your client opens the link without creating an account and fills in the data field by field, section by section. The form saves itself as they go, so they can stop and come back later.
The client form is a public page, and it stays metric: your client gives room sizes in meters and m², and temperatures in °C, even when your own account uses imperial units. Once you bring the data into a module, the app shows it in your units.
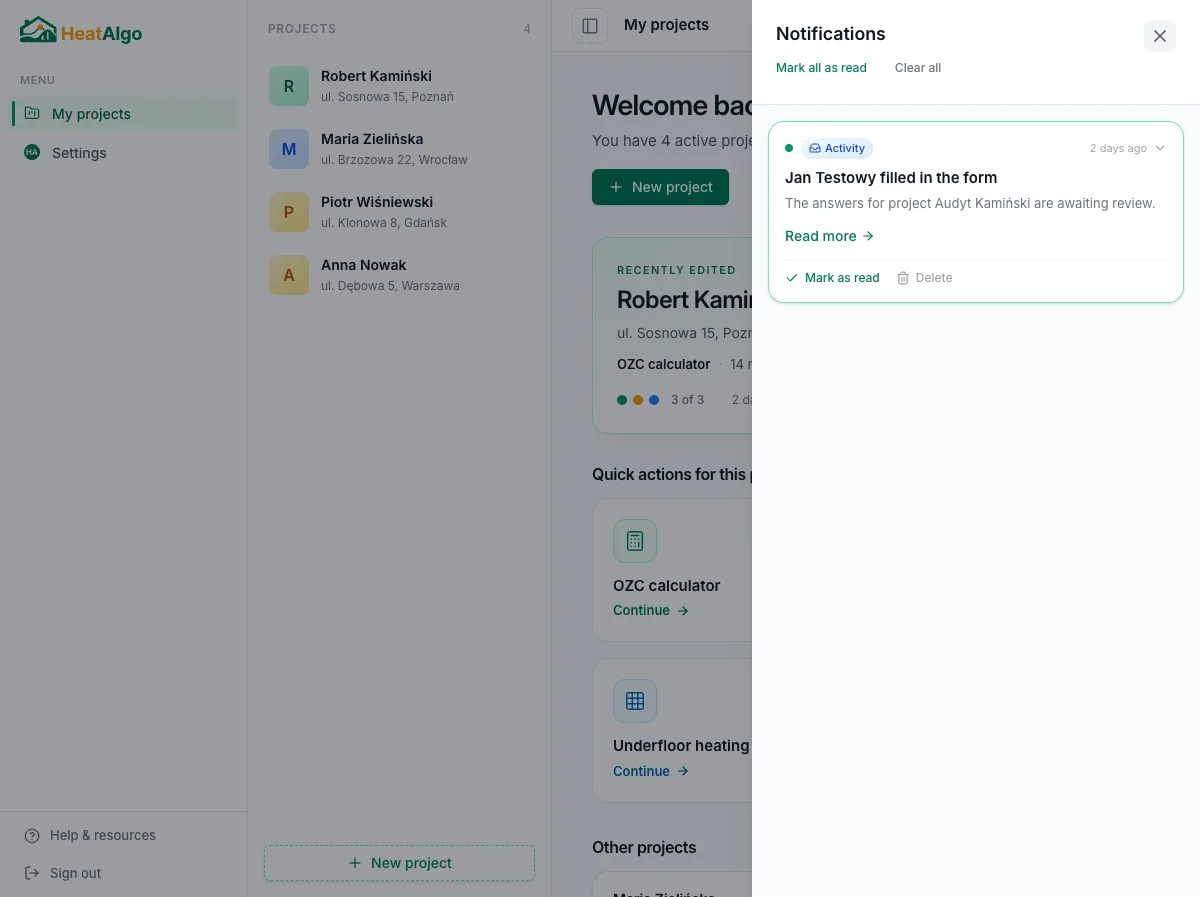
6. You get a notification
When your client submits the form, HeatAlgo notifies you - in the bell in the top bar and by email. You don't need to keep opening the project to check whether anything changed.
7. Review the answers
Once your client submits the form, you see their complete answers in one place on the "Client answers" screen, section by section, exactly as they filled them in.
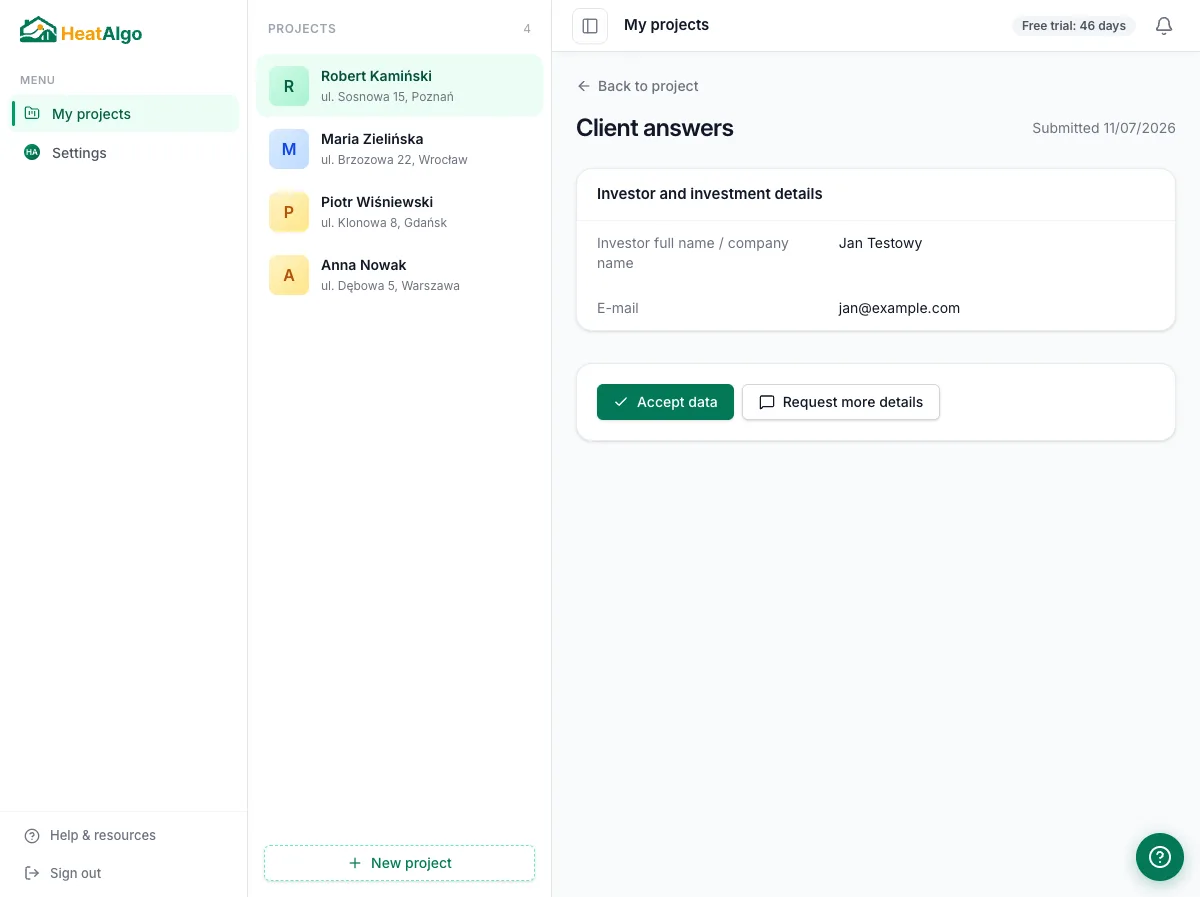
8. Accept the data or send it back for fixes
The buttons sit with your client's answers - you can see them on the previous step's screen. If everything checks out, click "Accept data", and the form is ready for the next stage. If something is missing or looks off, mark those fields with "Flag for correction", click "Send back for fixes" and add a sentence on what to correct. Your client gets the same link, sees the flagged fields marked, and doesn't start over.
9. Bring the data into the heat loss calculation with one click
After you accept, the screen "The data is yours. What now?" offers "Open the heat loss calculation". There the start screen shows a "Ready to bring in" line for the form. Click it, check exactly which values will be written into the calculation fields, and confirm. No manual copying.
That's all
Nine steps from creating the project to imported data - without a single phone call about a window size. The rest, the heat loss calculation itself, you do as usual. More guides are in the help center.
Create a free accountA HeatAlgo report follows EN 12831-1 and EN 1264, not ACCA Manual J, and is not accepted for permits or rebates.